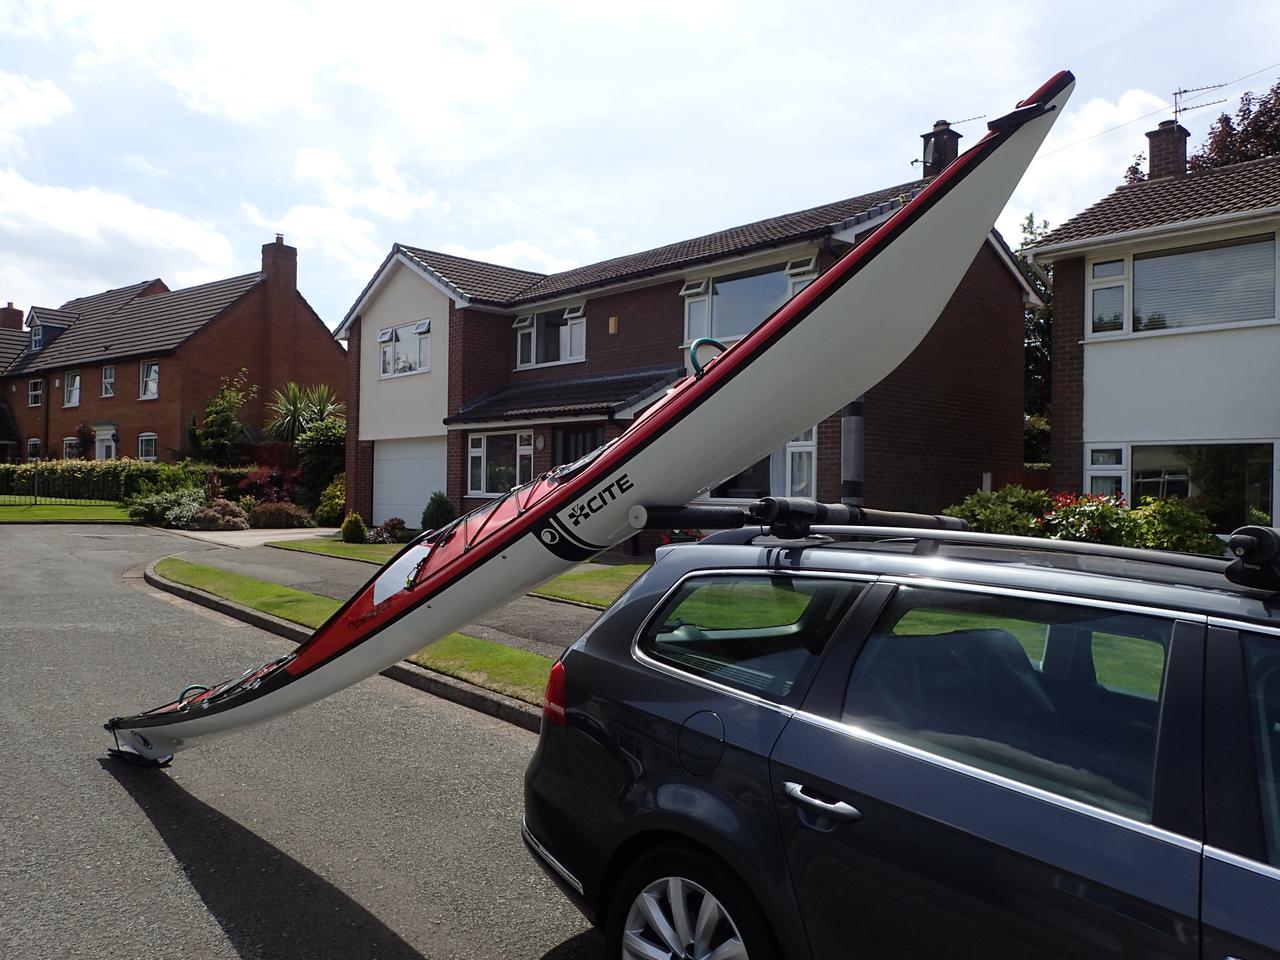
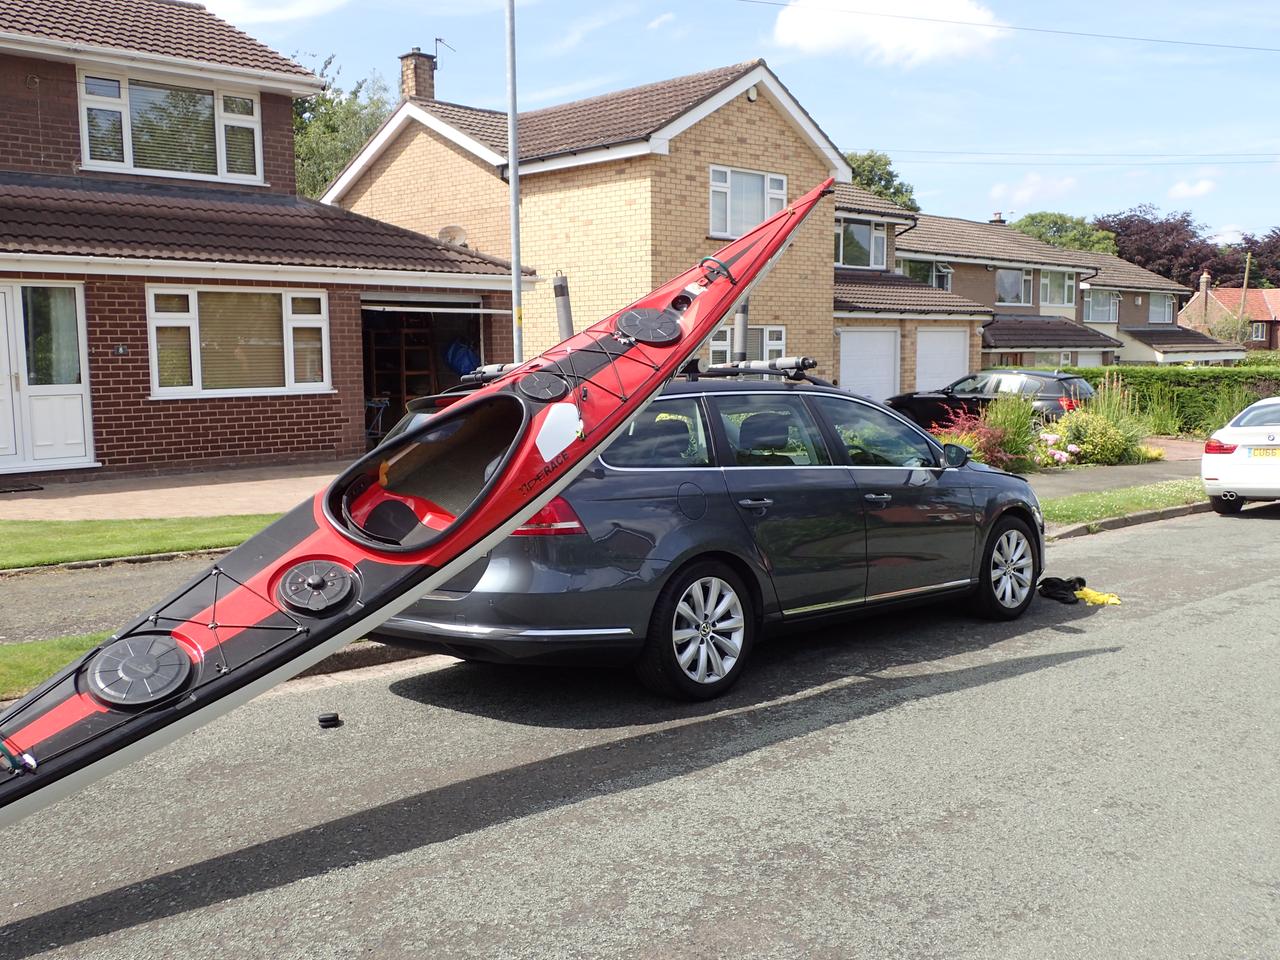
Its easy to get an injury when loading a sea kayak onto a roof rack by yourself - whilst owning a heavier plastic kayak I gained an unwelcome 'tennis elbow'. This is the development of an idea from a fellow sea-kayaker who described using a length of 4 x 2 timber as a temporary extension to his roof rack. Effectively you're only lifting half of the weight of the kayak at a time. It's simple and cheap to make and works a treat.
At first glance it looks like something out of a mediaeval jousting tournament...
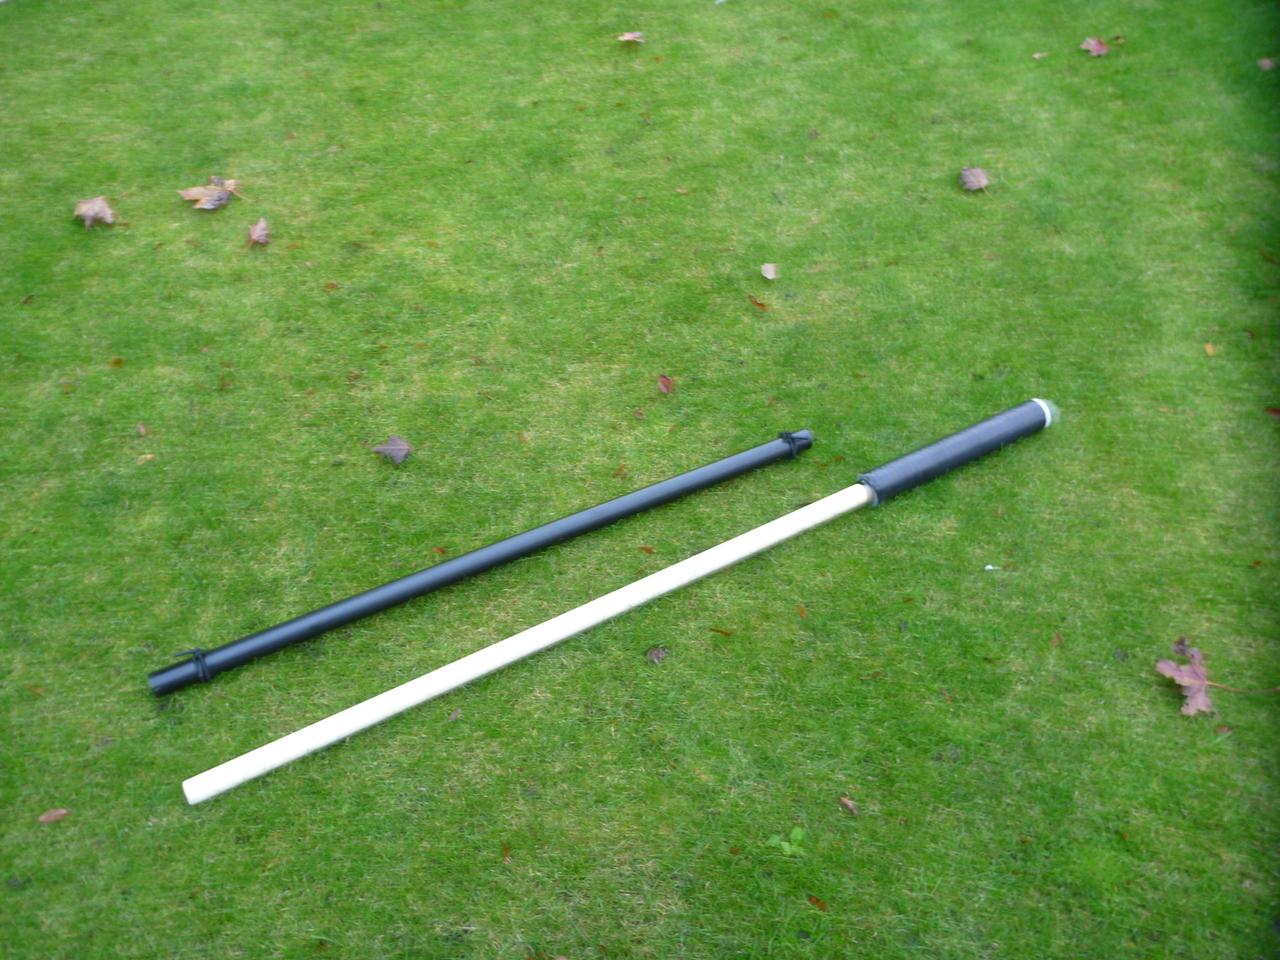
Components; readily available from hardware stores. NB it's important to get the sizes right, the two different sizes of waste pipe are loosely known as 32mm / 40mm or 1+3/8 or 1+1/2 in imperial. There is some variation between manufacturers (see notes at the bottom).
- A length of plastic pipe, labelled as 40mm but actually 41mm external and 37mm internal diameter.
- Some lengths of bungee to attach the pipe to the roofrails.
- A 'pole' - length of heavy duty dowel (35mm dia - recommend nothing less).
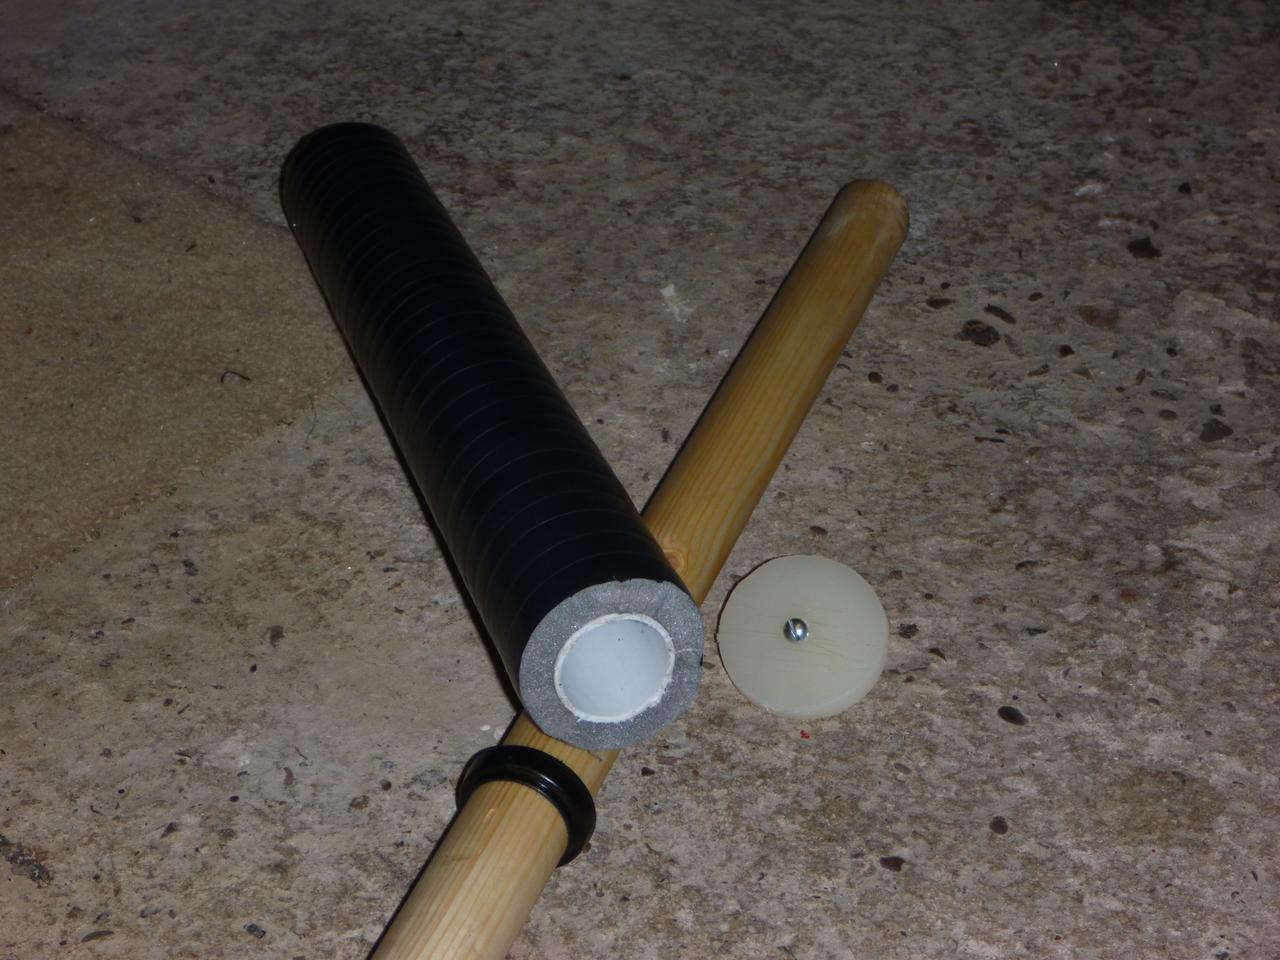
- A roller made from a piece of the same pipe wrapped with insulation foam and taped ('Rubbaweld' would be better as it's not slippery), approx 400mm long.
and to keep the roller in situ on the dowel:
- A cut off piece of 'push fit' straight connector, labelled as 32mm (that refers approx to the internal diameter) but with some persuasion this can be forced over the 35mm pole. The 'O' ring will compress to result in a tight fit.
- An end cap cut from an discarded kitchen chopping board or you could use the other part of the straight connector.
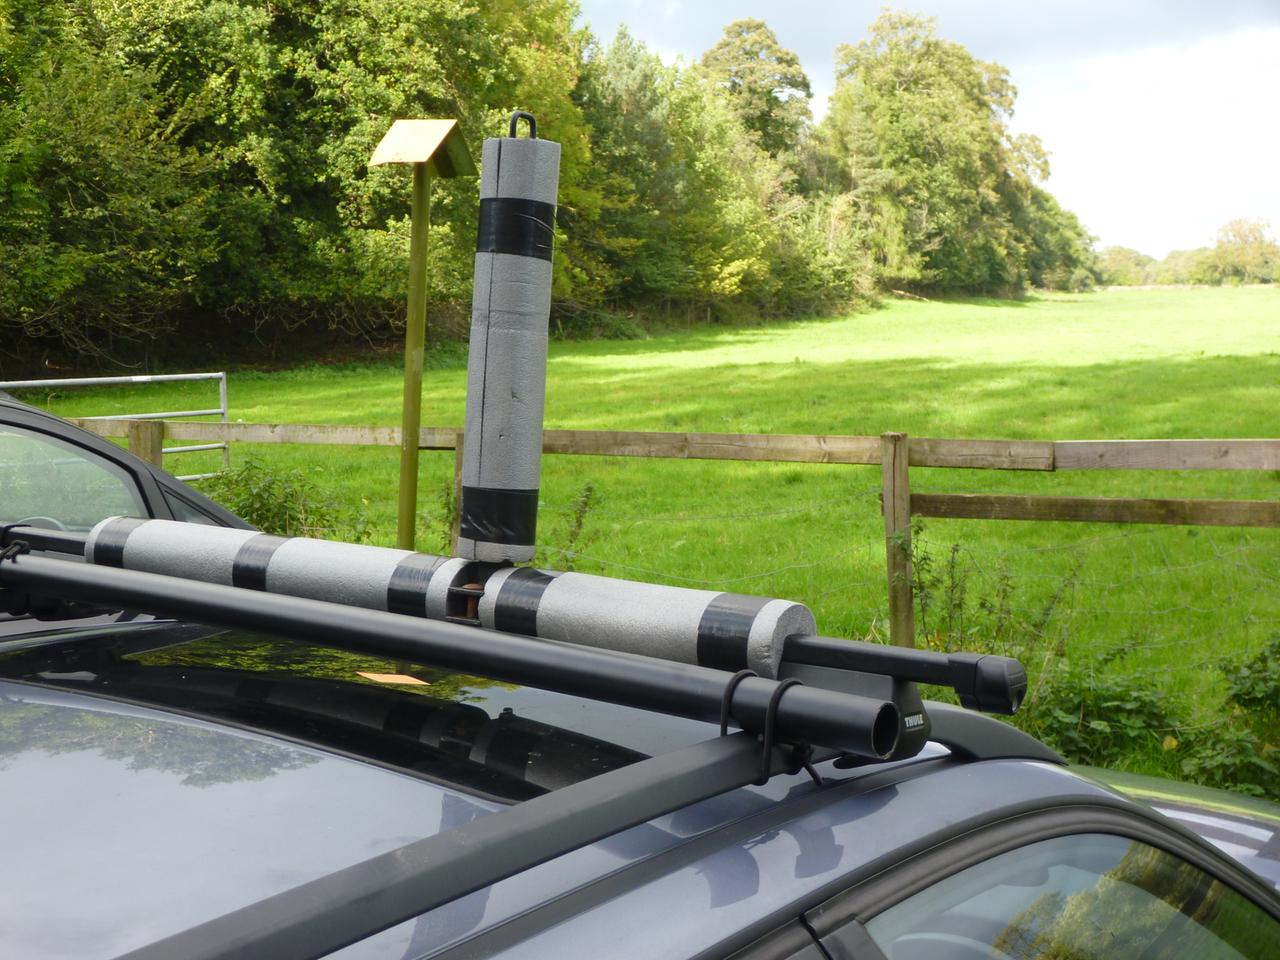
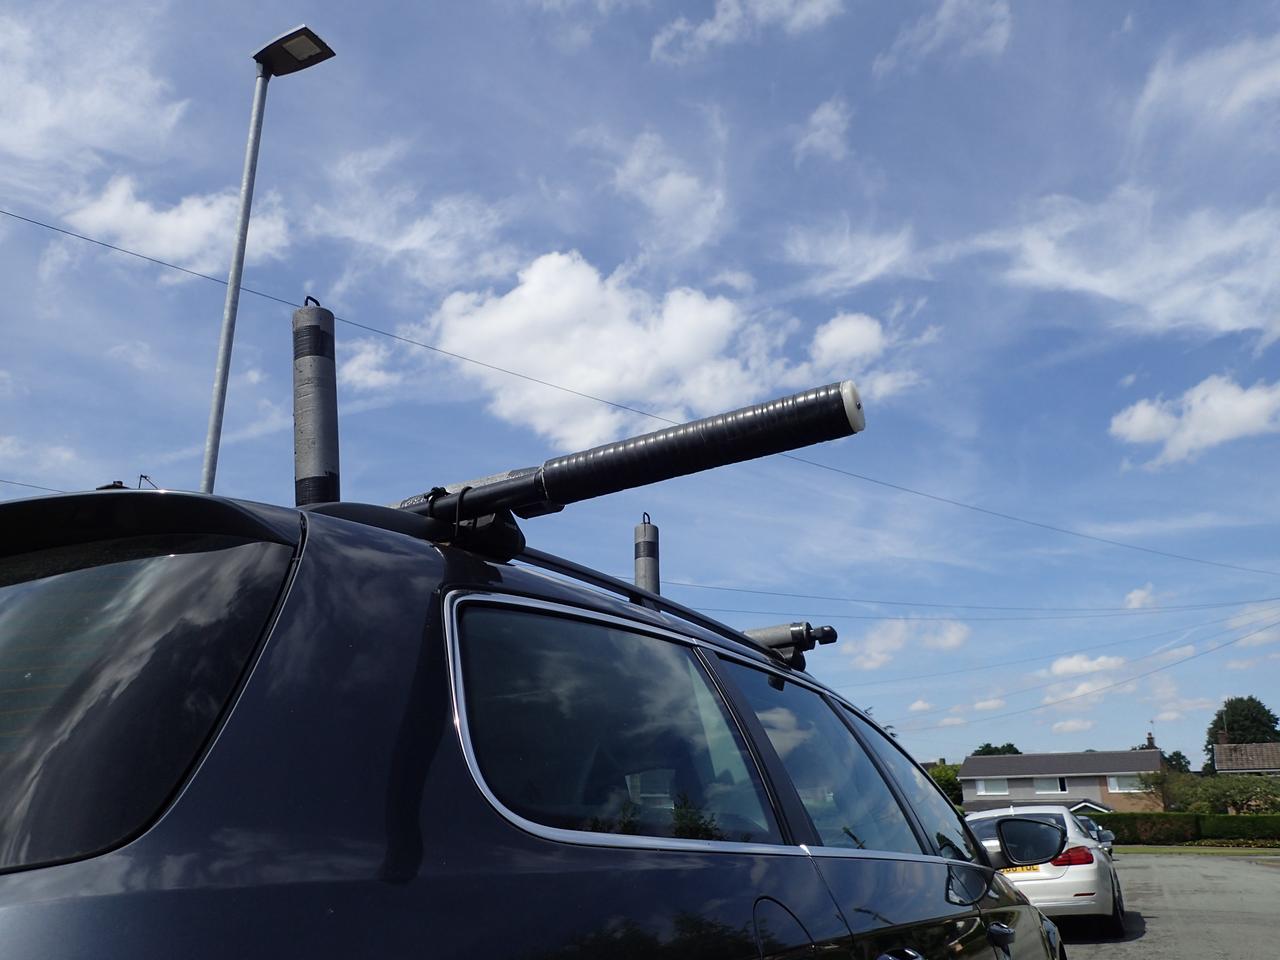
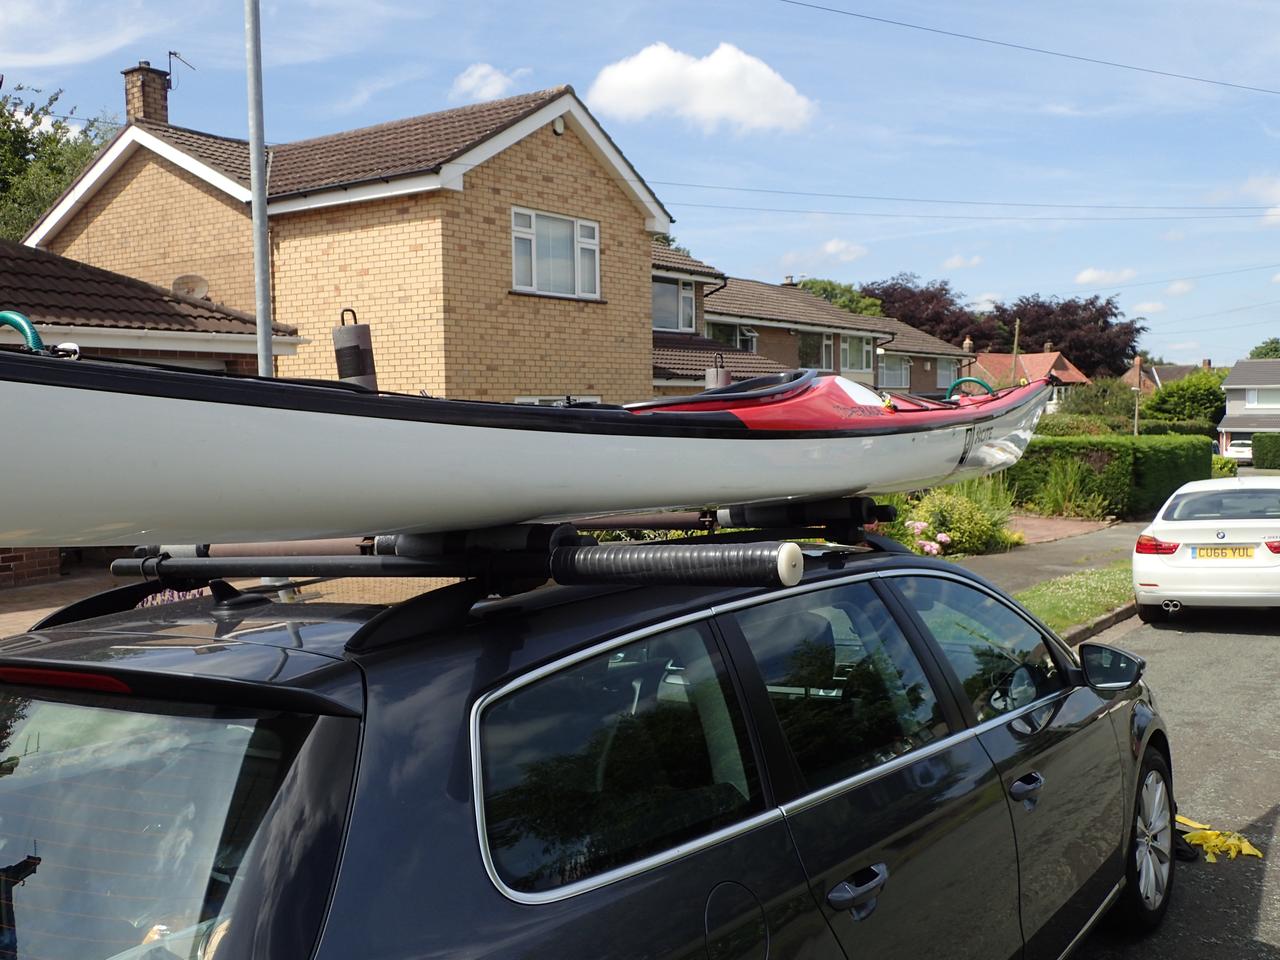
Usage: Strap the pipe across your roof rails with the bungee loops just behind the crossbar.
Insert the 'pole'. In this original picture I had it behind the front crossbar but have since found it far better behind the rear crossbar.
Lift the front of the kayak onto the roller.
Lift the rear, roll forward and get the back of the kayak onto the rear crossbar.
Shuffle the kayak across and rotate for strapping on. Finally, retrieve the pole from the tube.
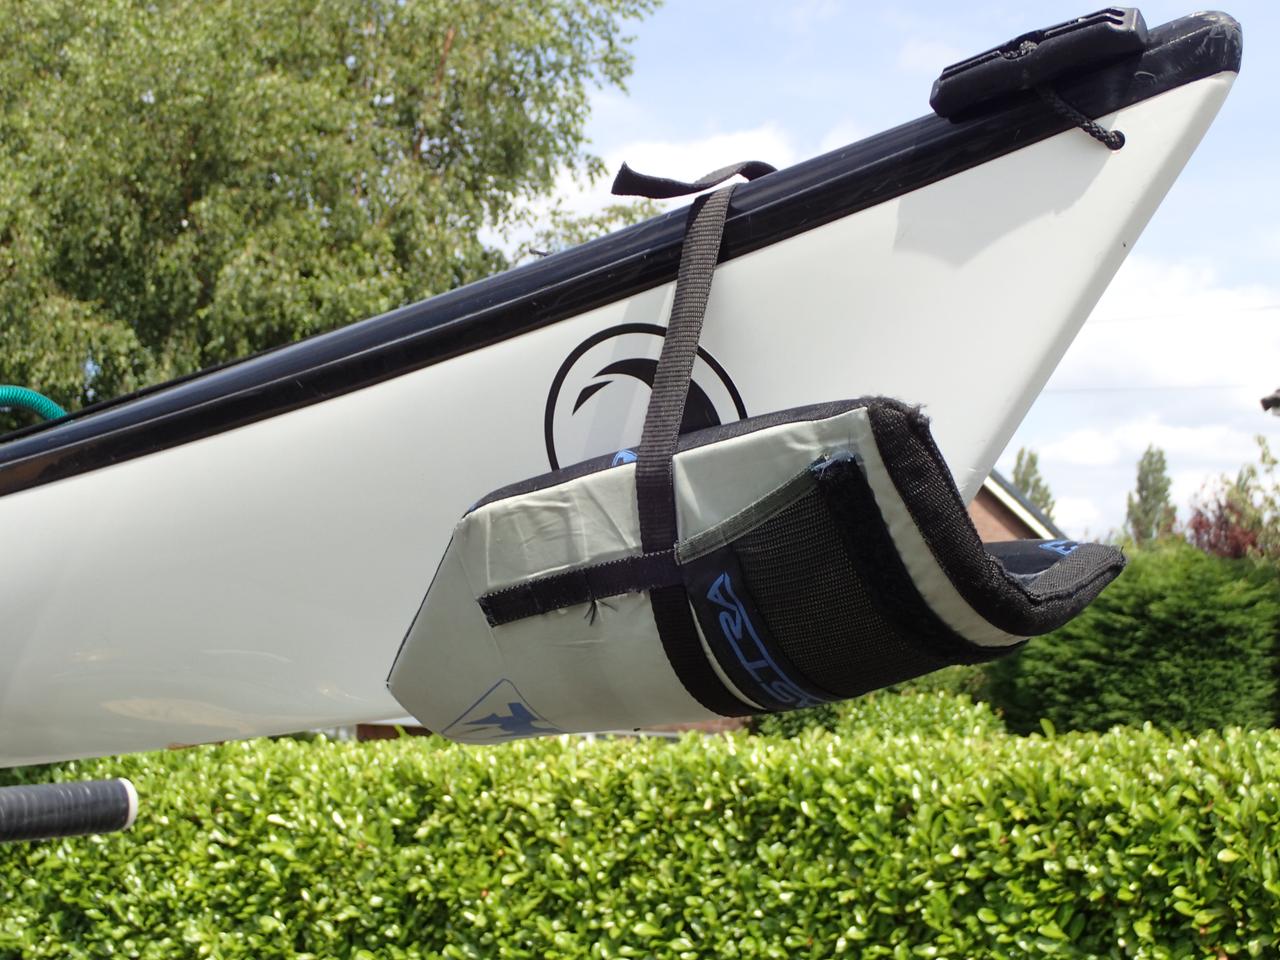
Use some form of protector on the rear of the kayak whilst loading.
I found the parts from B&Q, the pipe and connector were 'Floplast'. Beware there are subtle differences in pipe size between push fit and solvent weld and you'll need to ensure that the dowel is a 'just loose' fit in the pipe and the straight connector is a tight fit on the dowel. I would recommend nothing less than a 35mm dowel for strength; root through them to find a straight one.
